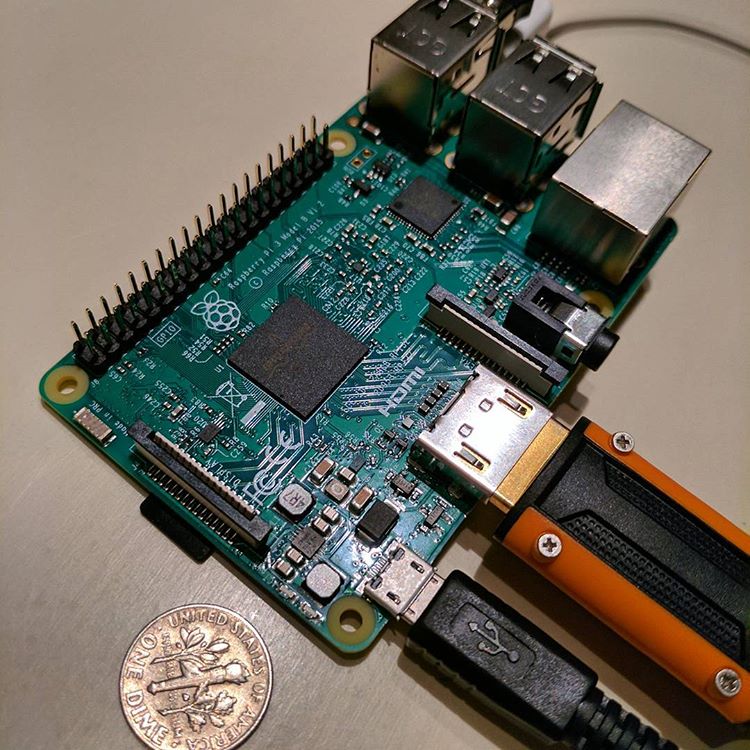
Raspberry Pi 3 – Beginner’s 5 steps

 A while back, I started out to finally work on a Raspberry Pi project. It was fairly straightforward, but I had to dig around a bit to get a clearer understanding from start to end.
I had an old Model A sitting around at home for a while, but I figured, I might as well start on the latest, so I popped into Fry’s and $60 later, I had my gear.
- Raspberry Pi 3
- Casing (not necessary)
- microSD card (I’m sure I have one sitting around at home too)
- wireless USB mouse (I didn’t need, this but it was a Darth Vader themed one, so obviously, I had to get it…)
- USB Keyboard (already had)
- HDMI cable (already had)
- micro USB based charger
Back at home, it was pretty straight forward.
a) Downloaded the SD card formatter from https://www.sdcard.org/downloads/formatter_4/eula_windows/ or https://www.sdcard.org/downloads/formatter_4/eula_mac depending on your OS, and format the card with ‘Format Size Adjustment’ flipped to ‘On’.
b) The longest part was to download the NOOBS package from downloads.raspberrypi.org/noobs — it took over 20 min for a 1.3 GB download for some reason. It was so annoying that I was wishing I had just paid the $150 for the kit which had it already preloaded on to the SD card (first world problems). Once you have downloaded it, copy it onto the SD card
c) I just plugged everything in that I needed: mouse, keyboard, HDMI to monitor, and the formatted SD Card
d) Power it up by plugging in the USB power cable, and boom – it was running. Within a few seconds, I was prompted with an initial screen where you have select the language, WiFi, and the preferred operating system that you want to have on the Pi. . min, the
e) Getting Wifi up wasn’t as easy. I have a hidden SSID and so I had to start broadcasting it, connect and then stop broadcasting it. I’m not really sure why that worked – I had tried updating etc/network/interfaces and the conf files independently of broadcasting, but it wouldn’t work – don’t waste your time! However, I did find out something I didn’t know previously which is that network passwords are stored in plain text. I suppose it isn’t really a huge security risk, but I’m curious to know if it is this easy to see on either Windows or OSX as well.
And that was it. Time for the real fun to start. Next step: Emulate the Amiga on the Pi
Some other sites for reference that helped me out:
- https://lifehacker.com/the-always-up-to-date-guide-to-setting-up-your-raspberr-1781419054
- https://www.youtube.com/watch?v=Th_3AvK-EbM
- http://www.techtimes.com/articles/190438/20161231/how-to-set-up-your-raspberry-pi-3-a-step-by-step-guide.htm
- https://www.raspberrypi.org/help/noobs-setup/2/
Comments or Questions? Voice them here!